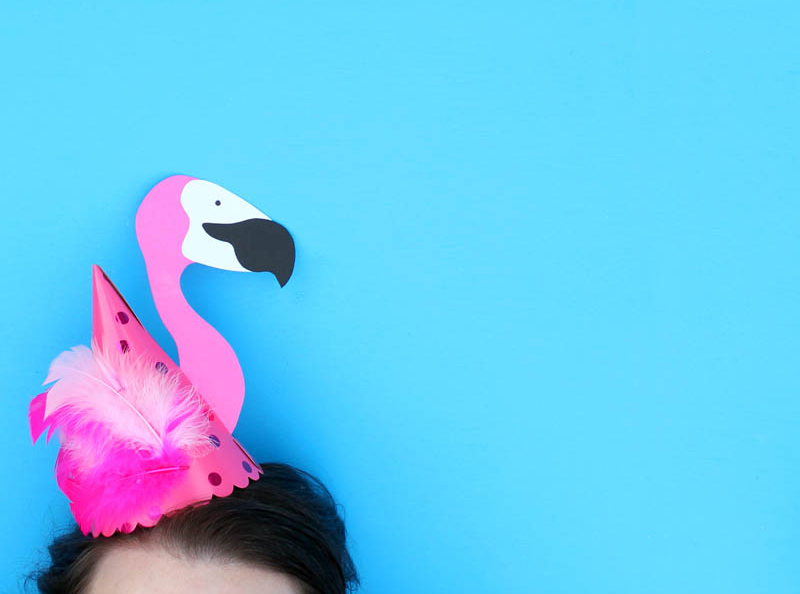
The flamingo is the animal of the party season! Spruce up your party hats with this trendy and oh-so-cute DIY by Sarah Adiutori of Weekend Pursuits.
TIME
20 minutes
SUITABLE FOR
Ages 8+
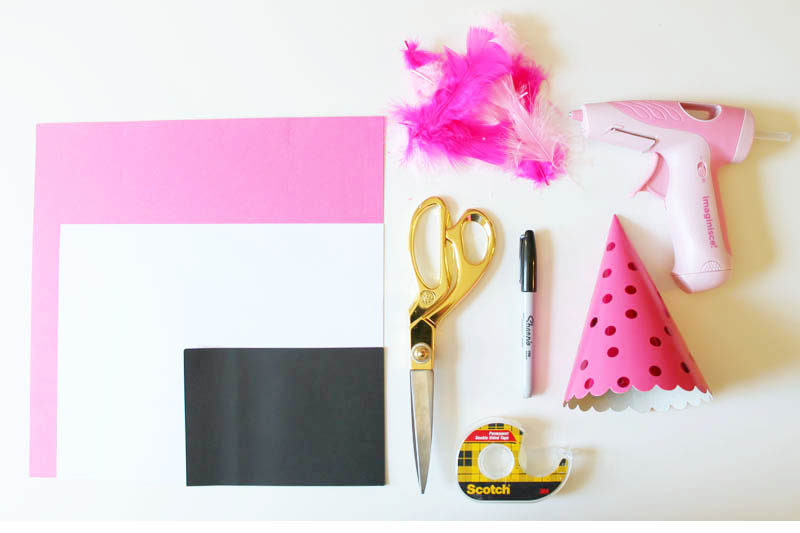
WHAT YOU’LL NEED
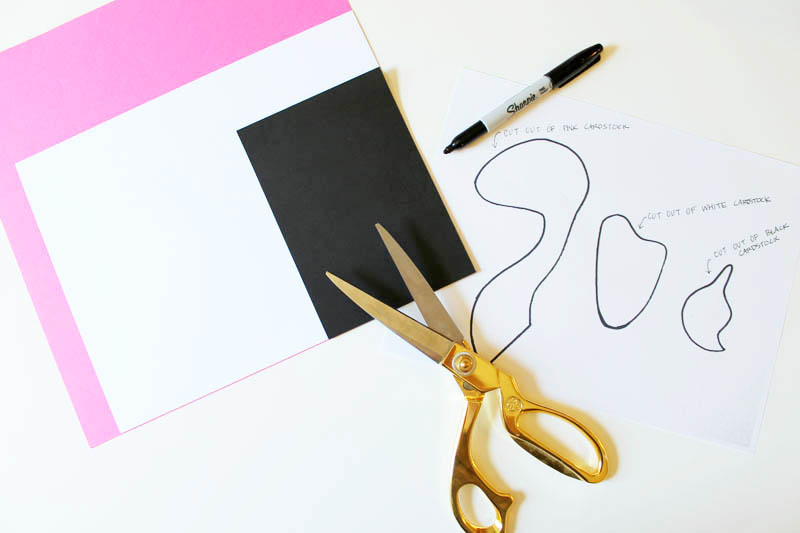
Pink Polka Dot Party Hats | Pink Feathers | Pink, White and Black Card Stock | Flamingo Template (link at the bottom of post) | Scissors | Double Sided Tape | Black Sharpie | Hot Glue Gun and Glue
WHAT TO DO
- Print out the from the link below and using scissors cut out the template shapes.
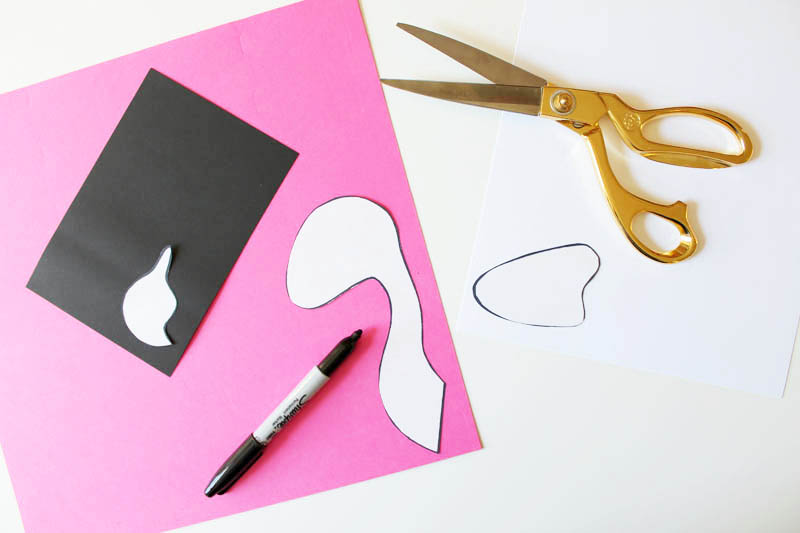
- Trace the template shapes onto the appropriate colored card stock — the flamingo head on pink cardstock twice, the face details on white cardstock and the beak on black cardstock — then cut out the shapes using scissors staying on the inside of the lines.
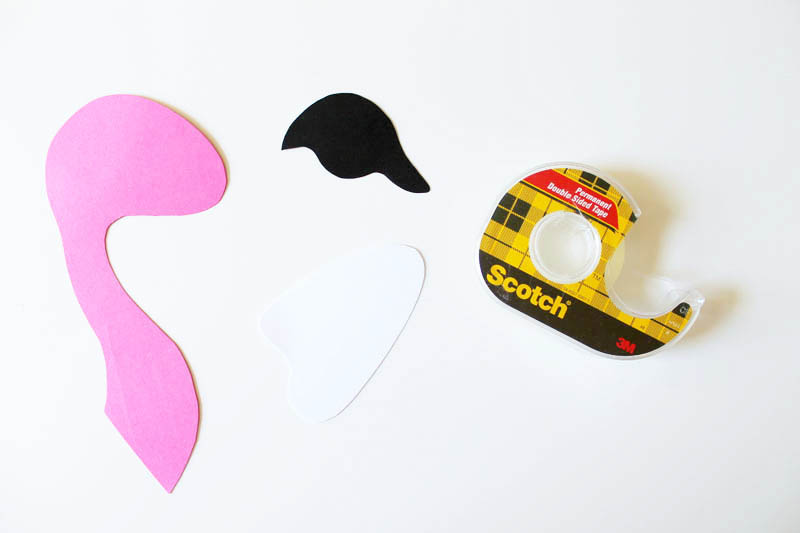
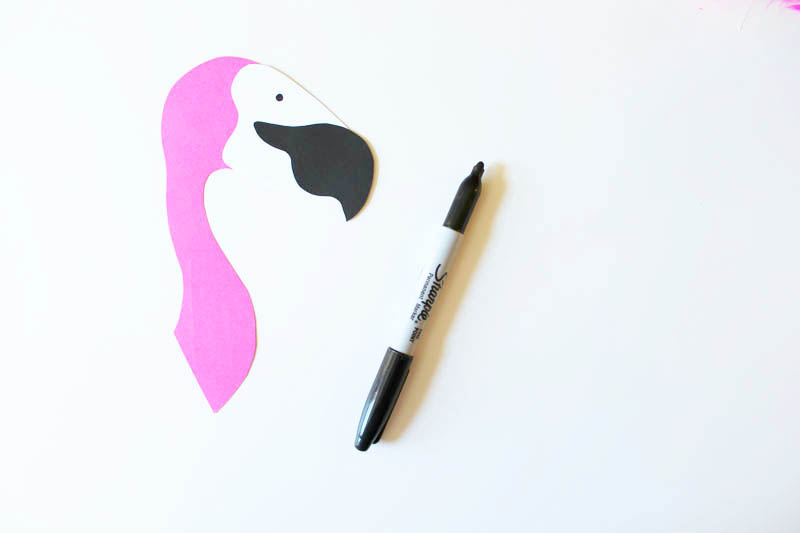
- Assemble the pieces of cardstock and adhere together using double sided tape.
- Using a black sharpie add an eye to the flamingo head.
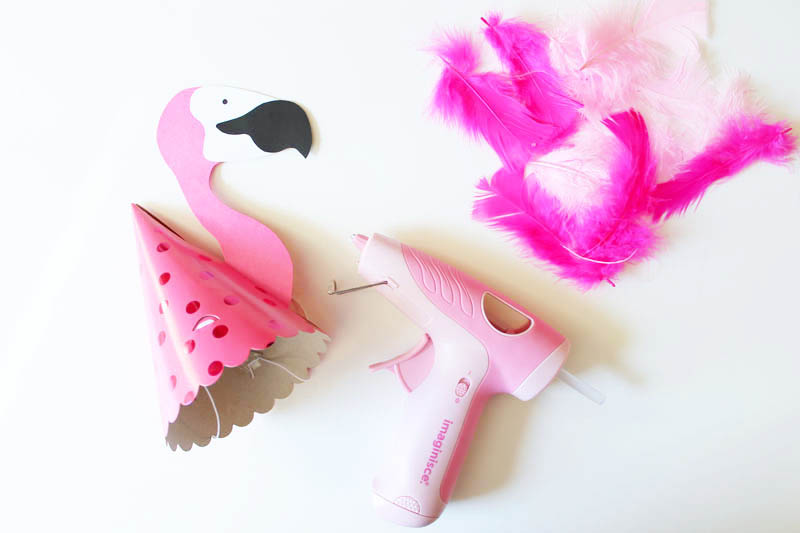
- Make a bend (approximately 1/2″) at the bottom of the flamingo neck, insert the bent part of the cardstock into the slit on the side of the party hat to see where it looks best.
- Once you are satisfied with the placement, apply double sided tape to the folded part of the card stock and secure it to the inside of the hat.
- Using hot glue, attach a few feathers on the side of the hat to resemble wings.
AND THEN
Place the party hat on top of your head and let’s flamingle!
This post was originally created for Shoes Off Please by Sarah Adiutori of Weekend Pursuits. The template for this project can be downloaded by visiting Shoes Off Please.
Flamingo Party Hats