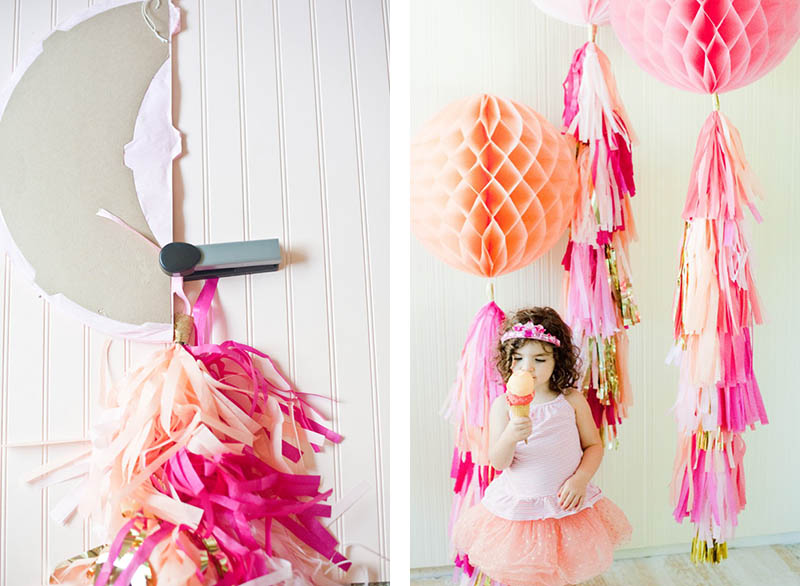
These pom poms by the talented Stevie Pattyn of The Sweet Lulu Blog are a fabulous way to dress up any celebration! Inspired by the big, but oh-so-beautiful Geronimo balloons, these babies are the perfect way to add some festive fun to your celebration, minus the helium!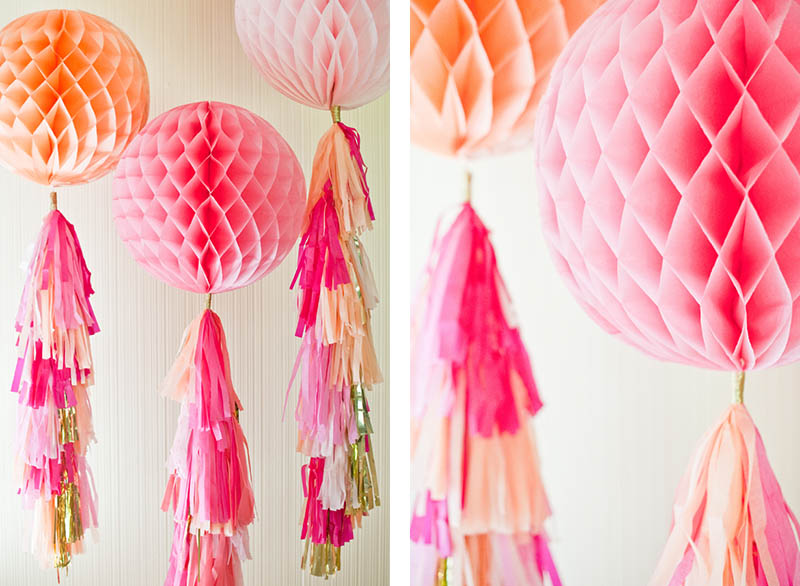
TIME
2 hours
SUITABLE FOR
Ages 14+
WHAT YOU’LL NEED
Rotary cutter or x-acto knife | 1/4 inch ribbon in a coordinating colour | Washi tape | Cutting mat | Ruler | Tissue paper in pretty colours + Mylar | Twine in a coordinating colours | Scissors | Glue gun | Extra large honeycomb ball | Glitter tape | Fishing line | Push pins
WHAT TO DO
- Let’s start by making all the tassels we are going to need.
- Take a piece of tissue paper and fold it in half. Make sure the crease is at the top.
- Now make a vertical cut down the centre.
- Take one of the pieces of the tissue paper you just cut in half and place it onto your cutting mat. Make sure that the crease is on top, and place your ruler about an inch down from the crease and about a 1/2 inch away from the edge.
- Using your rotary cutter, start cutting strips about 1/2 inch apart.
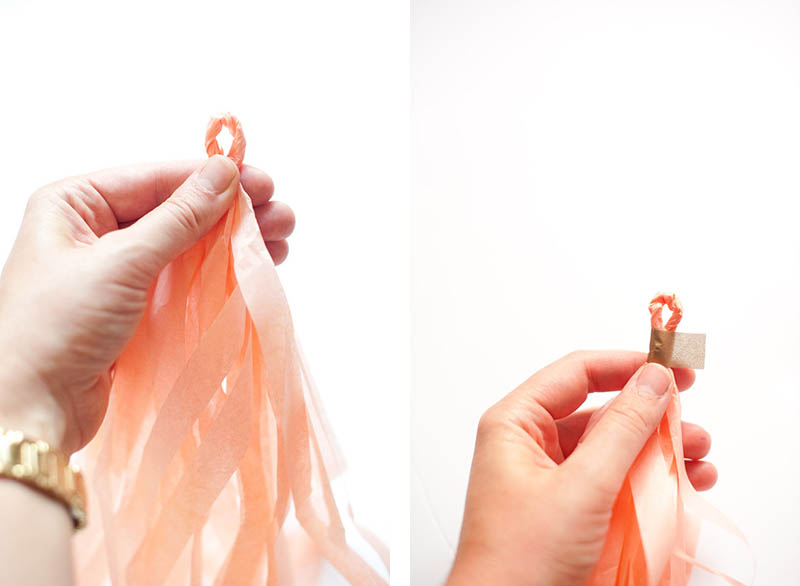
- Next, open up the tissue paper. From the top centre, start tightly rolling the tissue paper towards you, until is it completely rolled up.
- Pick up the tissue paper with both hands and start twisting forward with your left hand and backwards with your right hand, so the centre gets nice and twisted.
- Bend the part you just twisted to make a “U” shape and add a small dab of hot glue to one side. Quickly, before the glue dries, attach the other side to the glue by crisscrossing the fringy ends and creating a loop.
- Once the glue dries, add a piece of washi tape (a piece long enough to wrap around twice) around the base of the loop to secure it.
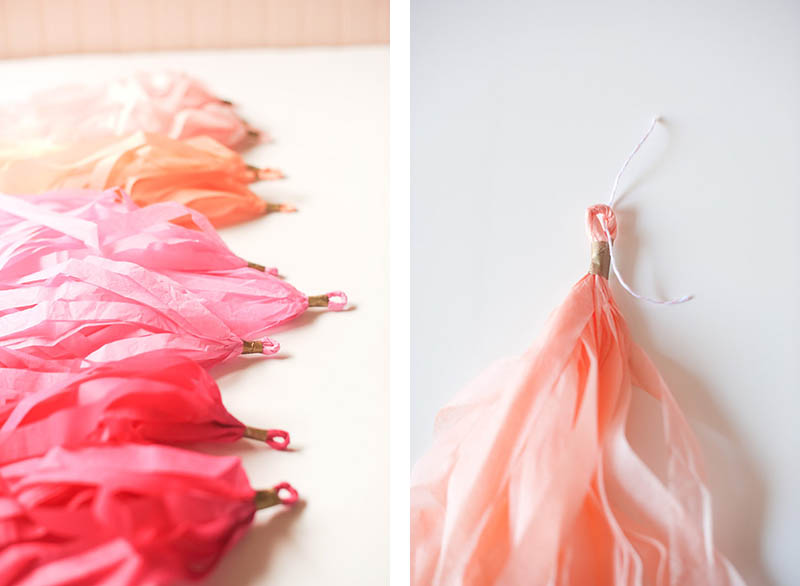
- Repeat that a bunch more times in a couple fabulous colours, until you have piles of tassels.
- Now let’s get these pretties strung! You’ll need to cut a piece of ribbon (I used 1/4 inch thick) the length you want your tassel garland to be (I cut mine 2 1/2 ft long). I recommend that you pick a ribbon colour that is similar to the colour palette of your tassels so it blends in.
- Next, cut a piece of twine about two inches long (I also suggest using a twine colour that matches your ribbon for blending purposes). Grab one of your tassels and thread the twine through the loop.
- Once threaded, tie your tassel to your ribbon. Be sure to start adding tassels about 3-4 inches from the top. You need to leave bare ribbon at the top to attach to the inside of the pom pom. Once you have double knotted the twine, clip off any excess.
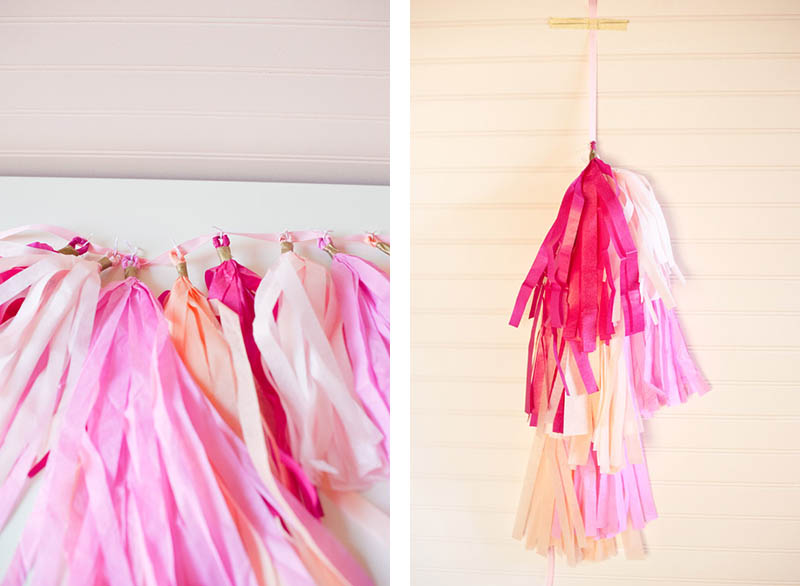
- Continue to add tassels to your ribbon until you have added two of each colour.
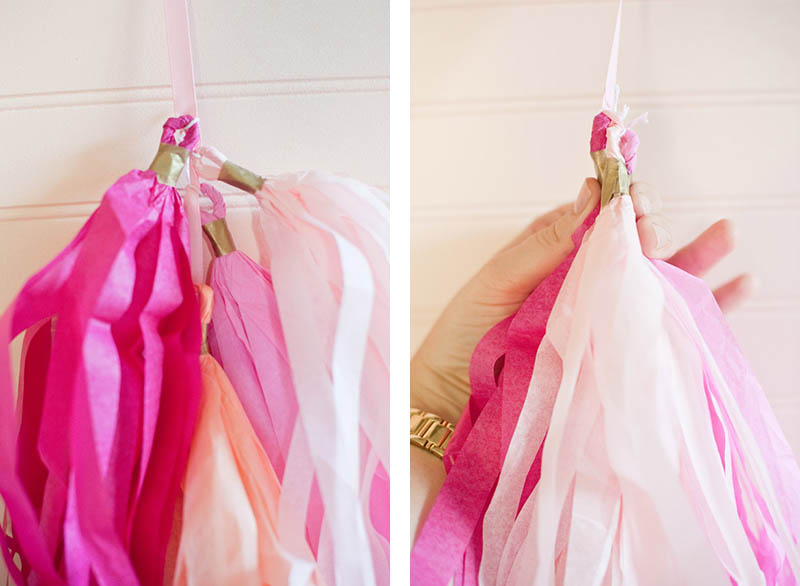
- Tape your ribbon garland to the wall. Grab the first three tassels and rotate them so that you have one tassel on each side of the ribbon (one to the left, one to the right and one in the back). Bunch the three tassels together and secure them using glitter tape.
- Now, start adding more tassels. Pay attention to the placement and position of each tassel, so that you don’t find yourself with all one colour on one side, or find that the front looks great but the side view and/or back don’t.
- Keep adding until you have one long beautiful garland!
AND THEN
To attach the garland to the pom pom, simply staple the ribbon to the first notch. Locate the piece of string used to hang the pom pom. There should be a little hole punch where the string is. Clip the string and thread the fishing line through the hole. Double knot, and you are finished!
Project + Photography Stevie Pattyn, The Sweet Lulu Blog
Geronimo Inspired Pom Pom